Frames Panel
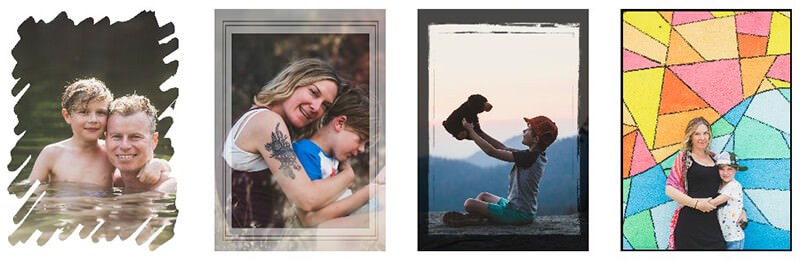
The Frames Panel is one of five Content Panels available in Layout View, Sort View and Cover View. The Frames Panel displays all the pre-designed frames Momento has made available in the software so you can enhance any or all of your photos. As you would expect, the frame is a graphic that can border or decorate the edges of any photo. There are hundreds of frames available in the software and for download in Packages via the Updater Panel. Here are just some examples.
Accessing Frames
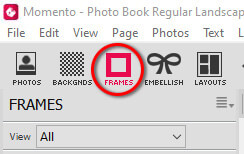
These are all available from the "Frames Panel" - the third of the five panels in the left portion of the Momento screen:
Apply Frames to photos, pages & projects
To apply a frame to a single photo
- In Layout View select the page containing the photo you wish to frame
- Click on the Frames tab at the top of the screen
- Click on the frame you are interested in
- Drag it over to the canvas and drop it on to the photo that you want to frame
- The photo will redisplay with the selected frame around it
To apply a frame to multiple photos
- In Layout View ensure the page containing the photos you wish to frame visible
- Select the photos you wish to frame, to select multiple photos, hold the Shift key while selecting each photo.
You will see a red border around each photo that has been selected. - Click on the Frames tab at the top of the screen
- You can double click on the frame you are interested in or
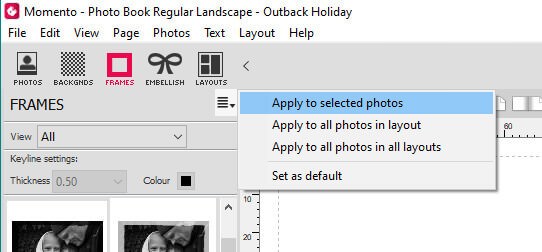
- Click on the down-arrow at the top of the Frames Panel
- Select the Apply to selected Photos option from the drop-down menu
- The frame you clicked on will be applied to the selected photos
To apply one frame to all photos on a page
- In Layout View ensure you are viewing the page containing the photos you wish to frame
- Click on the Frames tab at the top of the screen
- Click on the frame you are interested in
- Click on the down-arrow at the top of the Frames Panel
- Select the Apply to all photos in Layout option from drop-down menu
- The page will redraw with the frame you selected applied to all the photos on the page

To apply one frame to all photos in an existing project
- Click the Frames tab at the top of the screen
- Click on the frame you are interested in
- Click on the down-arrow at the top of the Frames Panel
- Select the Apply to all Photos in all Layouts option from drop-down menu
- The page will redraw with the frame you selected applied to all the photos in your project

To apply one frame to all photos when starting a new project
- Click the Frames tab at the top of the screen
- Click on the frame you are interested in
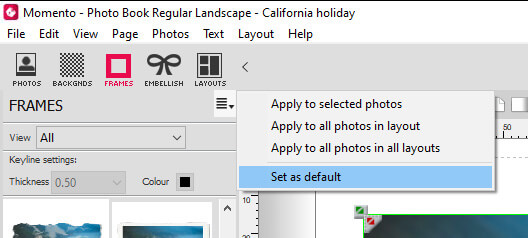
- Click on the down-arrow at the top of the Frames Panel
- Select the Set as Default option from the drop-down menu
- The page will redraw with the frame you selected applied to all photos
- The frame will also be automatically applied to any photos or pages added to the project
To remove a frame from a photo
- In Layout View, select the photo(s) you wish to remove the frame(s) from **
- Go to Photo Menu
- Select the Clear Frame option
Note: ** Alternatively you can right-click on any selected photo(s) and choose the Clear Frame option
Image Credits: Heartstory