Size & Crop
Resize a Photo
The resizing tools can be accessed in two ways:
- Go to Layout Menu > Size To
- Use the Size Tools in the Tools and Services Panel
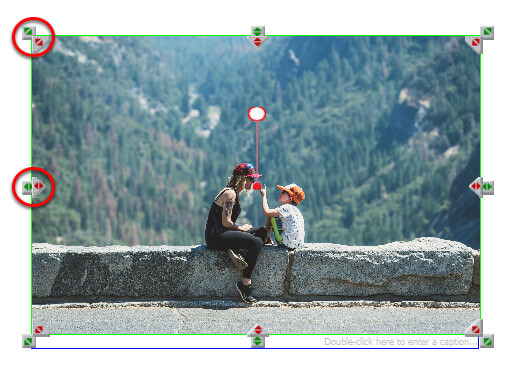
To enlarge a photo
- Select the photo and markers will appear around the edge of the photo
- Click and drag the green markers out toward the page edges to expand the photo
Tip: A Quality Warning will appear if you increase the size so much that the print quality is reduced.
Note: The photo will always retain its proportions so that the image is not distorted.
To shrink a photo
- Select the photo and markers will appear around the edge of the photo
- Click and drag the green markers in toward the centre of the page to decrease the size of the photo
Note: The photo will always retain its proportions so that the image is not distorted
To resize a group of photos to the same size
- Select all the photos you wish to resize
- Right-click on any of the photos
- Select Size To from the submenu
- Then select your preferred size option
Note: Alternatively go to Layout Menu > Size To or use the Size icons in the Tools Panel
Size To sub menu, has equivalent icons in the Tools Panel
- Largest (biggest area on the page)
- Smallest (tiniest area on the page)
- Widest (biggest left to right)
- Narrowest (smallest left to right)
- Tallest (biggest top to bottom)
- Shortest (smallest top to bottom)
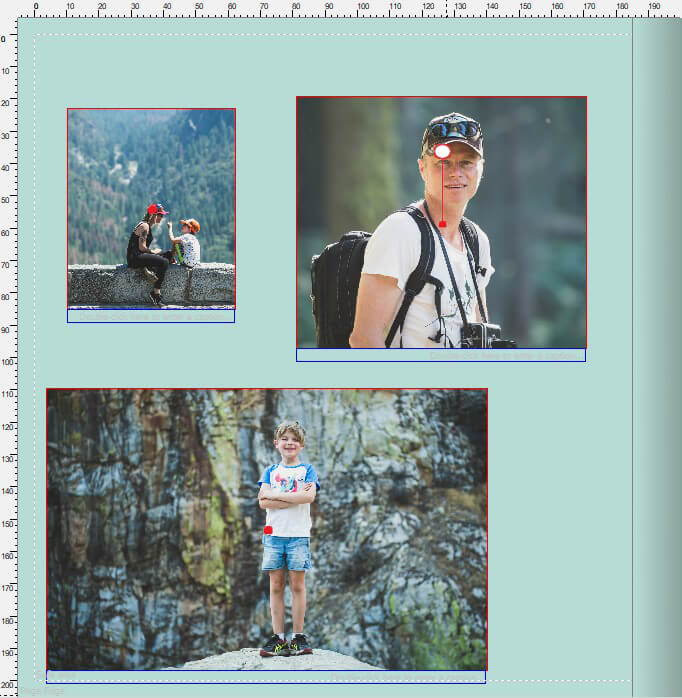
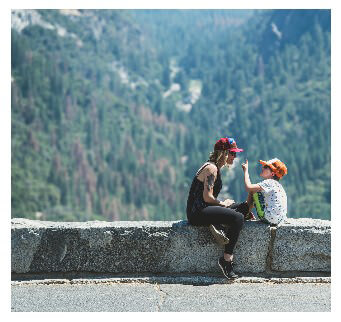
Before image
To resize two or more photos to the same height as the tallest photo in the group:
- Select two or more photos that you wish to resize (including the photo with the desired width)
- Right-click on any selected photo
- Select Size To > Tallest from the submenu
Note: Alternatively go to Layout Menu > Size To or use the Size icons in the Tools Panel
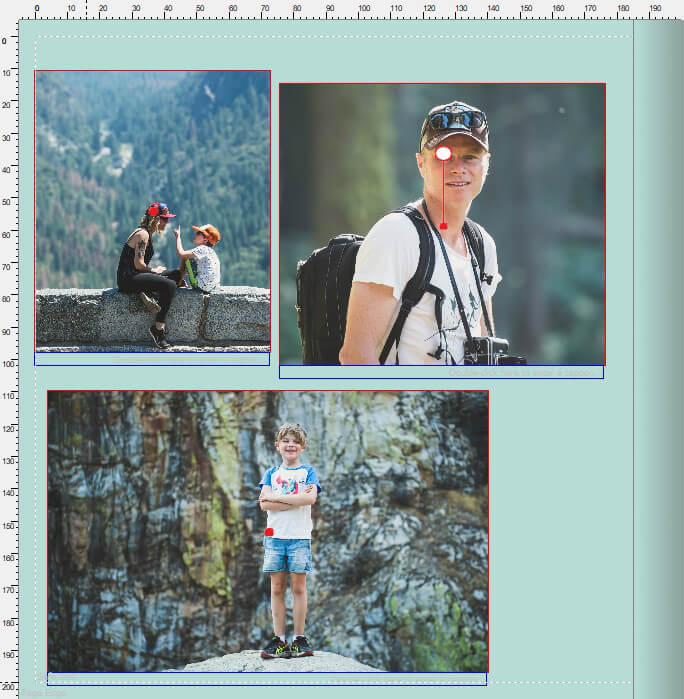
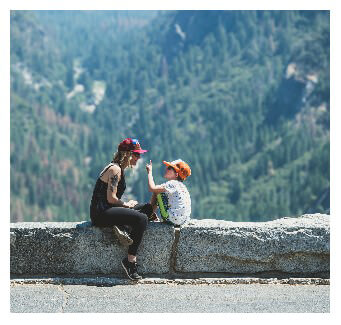
After image
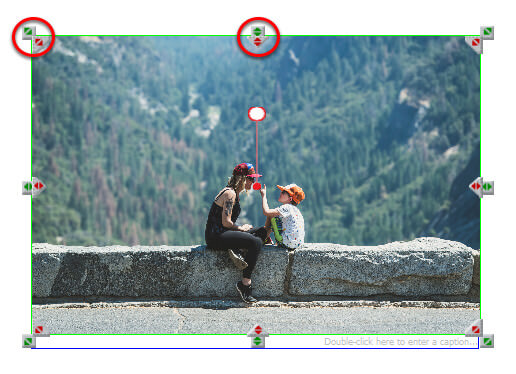
Crop a Photo
Cropping is similar to trimming the edges of a photo to remove unwanted parts of the image. To crop a photo and remove someone from the right side of the photo:
- Select the photo and markers will appear around the edge of the photo
- Click and drag a red marker on the right inner edge of the photo toward the centre of the image until the person sits outside the right crop mark
- The markers can be dragged in any direction
- You will notice that the part of the photo that is to be cropped out is faded
Note: You can reverse the cropping via the Photos Menu > Clear cropping
Repositioning the photo within the cropped area
Sometimes you will find that part of the photo you want visible in a cropped photo is not positioned perfectly i.e. the wrong part of the photo is shown.
To adjust the part of the photo that is visible in the cropped area you can move the photo around within the frame.
- Click on the cropped photo and handles will appear around the edge of the photo
- The part that has been cropped out of the photo is shown in a lighter colour, faded out
- Click in the cropped section (the lighter part of the photo)
- Drag the photo until the preferred part of the photo is visible within the frame
- Click anywhere else on the page to deselect the photo
- The photo will now appear with the new cropping
- Another way to adjust the position is to hold down the space and drag anywhere on the photo
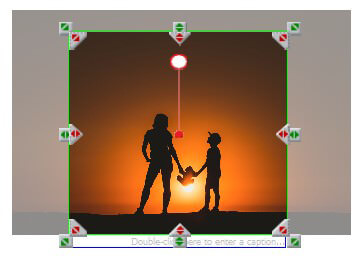
Image Credits: Heartstory